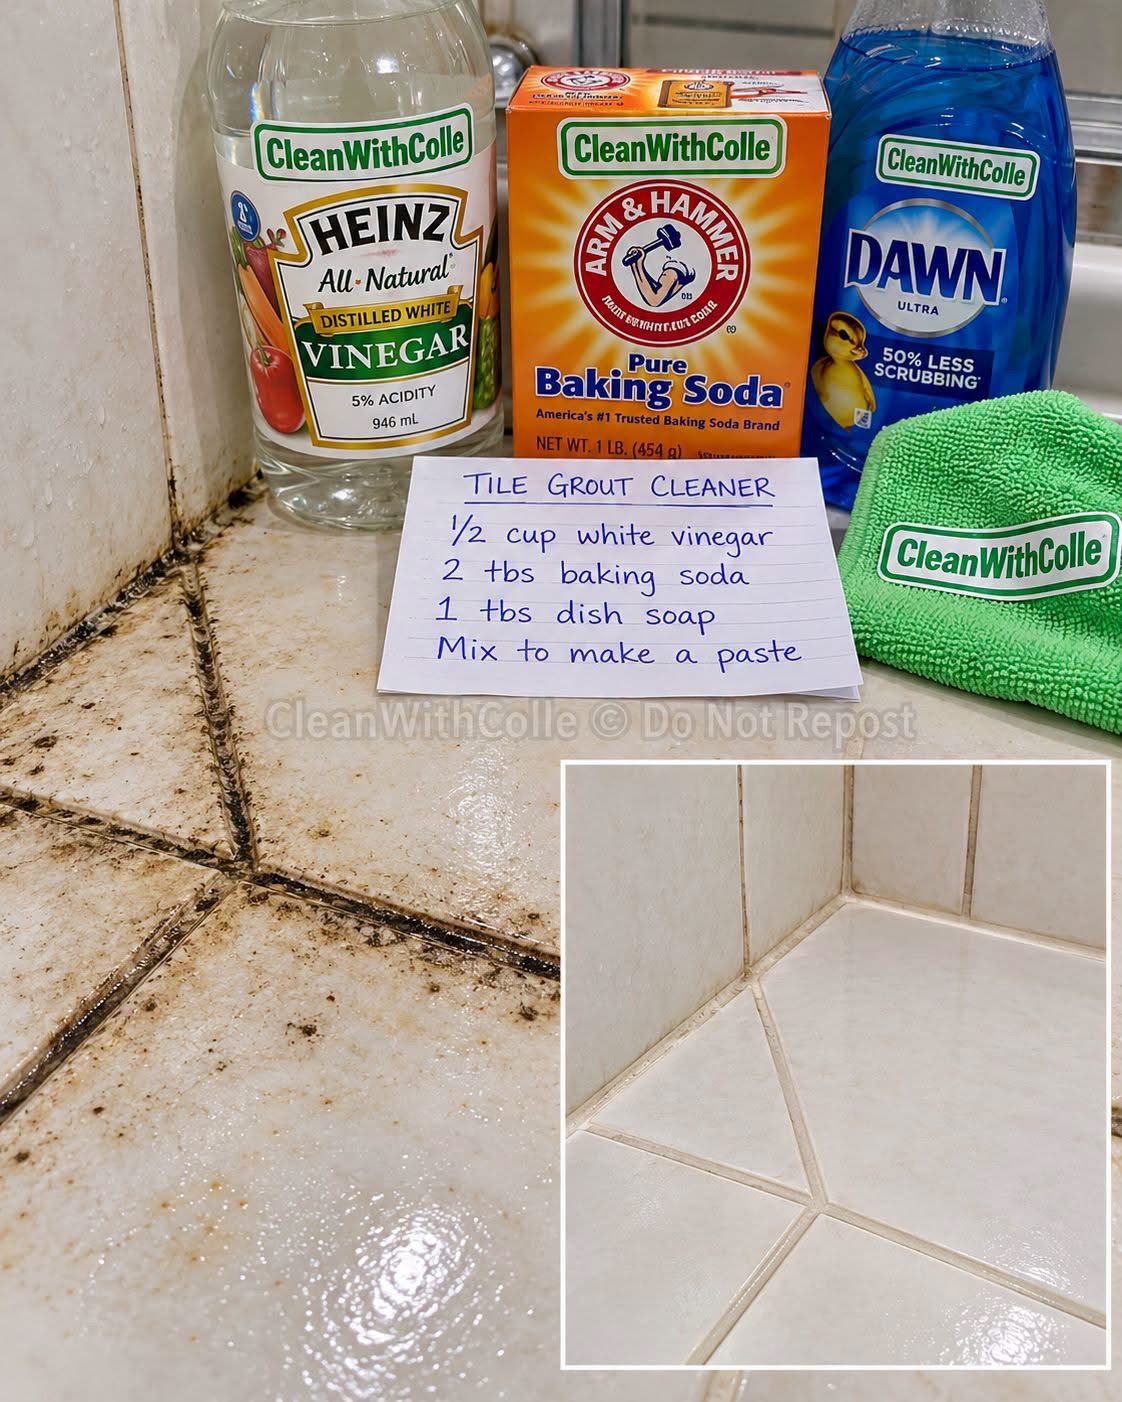
Bring your dirty bathroom tiles back to a fresher, cleaner look with this simple grout-cleaning method.
What You Need
- ½ cup white vinegar
- 2 tablespoons baking soda
- 1 tablespoon dishwashing liquid
- A small bowl
- An old soft toothbrush or grout brush
- A microfiber cloth
- Warm water
- Rubber gloves (optional)
Step-by-Step Instructions
Step 1: Prepare the bathroom
Remove bath mats and other items from the floor. Sweep away loose dirt and dust so you can focus on the stained grout lines.
Step 2: Prepare your cleaning solution
Mix the dishwashing liquid with a little warm water in a small bowl. Apply the solution to the dirty grout lines.
Step 3: Scrub the grout
Use an old toothbrush or grout brush to gently scrub the stained grout. Work in small sections, paying attention to the darkest areas.
Step 4: Rinse thoroughly
Wipe away the loosened dirt and soap using a microfiber cloth dampened with clean water. Repeat as necessary.
Step 5: Dry the tiles
Use a clean, dry microfiber cloth to remove excess water. Allow the grout to dry completely so you can see the actual results.
Step 6: Reveal the final result
Admire your refreshed bathroom tiles and cleaner-looking grout! For stubborn stains, use a grout cleaner specifically suited to your tile and grout type.
Important Safety Tips ⚠️
- Do not mix vinegar and baking soda together as your cleaning solution. They react with each other and largely neutralize one another, reducing their cleaning effectiveness.
- Never mix vinegar with bleach or bleach-containing products because dangerous chlorine gas can be released.
- Vinegar is acidic and may damage natural stone, cement-based grout, or certain tile finishes. Check the manufacturer’s instructions before using it.
- Test your cleaning method on a small, inconspicuous area first.
- Wear gloves if you have sensitive skin, and keep the bathroom ventilated.
Final Result ✨
Cleaner-looking grout, fresher bathroom tiles, and a satisfying CleanWithColle cleaning transformation! 💚