No-Knead Donuts (Baked, Not Fried)
Why You’ll Love This Recipe
- No Kneading Required: This batter is a breeze—no need for kneading or special equipment.
- Baked, Not Fried: A lighter alternative to traditional donuts without compromising on flavor or texture.
- Customizable Toppings: Glaze, dip, sprinkle—go wild with endless topping combinations.
- Quick & Easy: From mixing bowl to mouth in under an hour.
- Kid-Friendly Fun: Perfect for little hands to help mix, decorate, and enjoy.
Ingredients You’ll Need
Makes 12 donuts
For the Donuts:
- 1 cup all-purpose flour
- 1/2 cup granulated sugar
- 1 tsp baking powder
- 1/4 tsp salt
- 1/2 cup milk (dairy or plant-based)
- 1 large egg
- 2 tbsp unsalted butter, melted (or oil)
- 1 tsp pure vanilla extract
For the Glaze (Optional):
- 1 cup powdered sugar
- 2–3 tbsp milk (adjust for consistency)
- 1/2 tsp pure vanilla extract
- Optional Add-Ins: Cocoa powder, melted chocolate, sprinkles, chopped nuts, shredded coconut, etc.
Step-by-Step Instructions
Step 1: Preheat the Oven
Preheat your oven to 350°F (175°C). Lightly grease a donut pan or spray with nonstick cooking spray.
Step 2: Make the Batter
- In a large bowl, whisk together flour, sugar, baking powder, and salt.
- In another bowl, whisk together milk, egg, melted butter, and vanilla extract until smooth.
- Pour wet ingredients into the dry ingredients and stir gently until just combined. The batter should be thick but smooth—do not overmix.
Step 3: Fill the Donut Pan
Transfer the batter to a piping bag or a zip-top bag with the corner cut off. Pipe into each donut mold, filling about 3/4 full.
Step 4: Bake
Bake for 8–10 minutes, or until donuts spring back when gently pressed and a toothpick inserted comes out clean.
Let cool in the pan for 2–3 minutes, then transfer to a wire rack to cool completely.
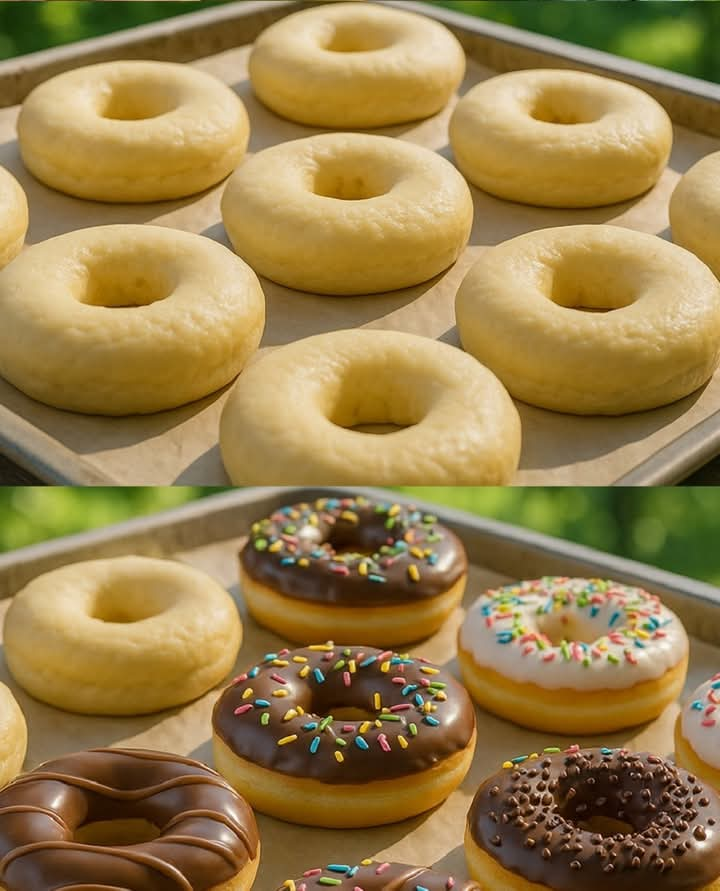
Step 5: Glaze & Decorate
- In a small bowl, whisk powdered sugar, milk, and vanilla extract until smooth. Adjust consistency to your liking.
- Dip each cooled donut into the glaze or drizzle over the top. Add toppings while glaze is still wet.
Why This Recipe Works
- No Yeast Needed: Baking powder provides the perfect rise—no proofing or waiting.
- Moist & Tender: Melted butter keeps the texture rich and satisfying.
- Fuss-Free Tools: No mixer or dough hook required—just a whisk, a bowl, and a donut pan.
Creative Variations
- Chocolate Donuts: Mix in 2 tbsp unsweetened cocoa powder for a chocolate twist.
- Spiced Delight: Add cinnamon, nutmeg, or pumpkin spice to warm things up.
- Citrus Glaze: Use lemon or orange zest in both batter and glaze for zing.
- Gluten-Free Option: Swap flour for a 1:1 gluten-free flour blend.
- Mini Donuts: Use a mini donut pan and bake for just 6–8 minutes.
Tips for Success
- Don’t Overfill: Stick to 3/4 full to prevent overflow.
- Cool Before Glazing: Warm donuts will melt your glaze—be patient!
- Storage: Store in an airtight container at room temperature for up to 2 days. Freeze unglazed donuts for longer storage.
Serving Suggestions
- Elegant Touch: Garnish with edible flowers or fruit zest for a bakery-style look.
- Brunch Favorite: Serve with fresh fruit, yogurt, or your favorite coffee.
- Party Ready: Arrange with muffins and scones for a beautiful dessert spread.
Final Thoughts
These No-Knead Donuts prove that you don’t need a deep fryer—or hours in the kitchen—to enjoy fresh, fluffy, delicious donuts. They’re quick, fun, and endlessly customizable, making them a must-try whether you’re a baking beginner or a seasoned pro.
Now it’s your turn—have you made baked donuts before? Share your favorite mix-ins, glaze combos, or tips in the comments below!