These jam bars are a favorite at gatherings, with their buttery crust, fruity filling, and irresistible crumbly topping. Whether you’re making them for a party, a bake sale, or simply to enjoy at home, they’re guaranteed to be a hit.
Why You’ll Love This Recipe
- Perfect for Crowds – Easy to make in large batches and ideal for sharing.
- Customizable – Swap flavors, mix-ins, and toppings to match any occasion.
- Make-Ahead Friendly – Prepare in advance for stress-free entertaining.
- Kid and Adult Approved – A sweet treat everyone will love.
- Versatile – Serve them as dessert, a snack, or even breakfast.
Ingredients You’ll Need
For the Crust and Topping:
- 2 cups all-purpose flour
- 1 cup unsalted butter (softened to room temperature)
- 1/2 cup granulated sugar
- 1 teaspoon vanilla extract
- Pinch of salt
For the Filling:
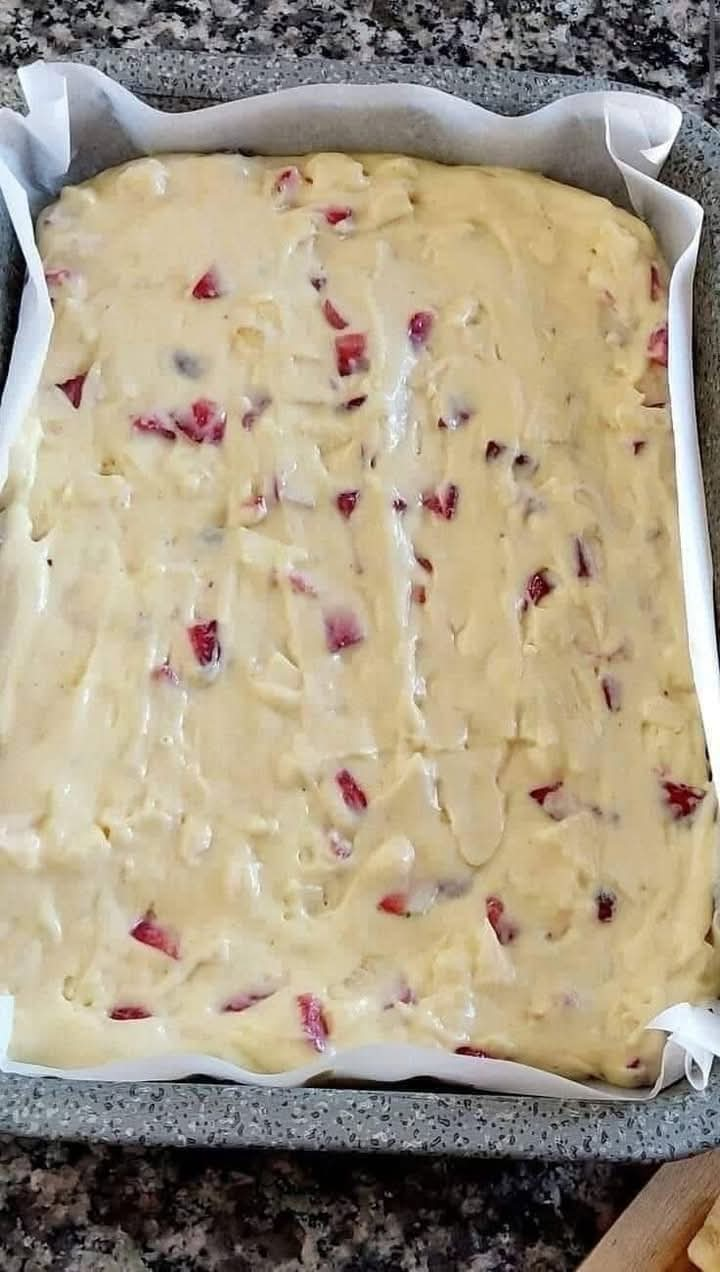
- 1 jar (12–16 oz) jam, preserves, or fruit spread (apricot, raspberry, or lemon work well!)
- Optional Mix-Ins: Chocolate chips, chopped nuts, shredded coconut, or sprinkles
For the Glaze (Optional):
- 1 cup powdered sugar
- 2–3 tablespoons milk (or cream)
- 1/2 teaspoon vanilla extract
Step-by-Step Instructions
Step 1: Preheat Your Oven
Preheat your oven to 350°F (175°C). Grease a large baking pan (13×18 inches) or line it with parchment paper for easy cleanup.
Step 2: Make the Crust
- In a large mixing bowl, combine flour, softened butter, sugar, vanilla extract, and salt.
- Mix with a hand mixer or your hands until the mixture resembles coarse crumbs.
- Reserve about 1 1/2 cups of the mixture for the topping.
- Press the remaining mixture evenly into the bottom of the prepared pan to form the crust.
Step 3: Add the Filling
- Spread jam, preserves, or fruit spread evenly over the crust.
- If using mix-ins, sprinkle them over the jam layer.
Step 4: Add the Topping
- Sprinkle the reserved crumb mixture evenly over the jam layer, pressing lightly to help it adhere.
Step 5: Bake the Bars
- Bake for 25–30 minutes, or until the edges are golden brown and the topping is set.
Step 6: Cool and Glaze (Optional)
- Let the bars cool completely in the pan on a wire rack.
- If using glaze, whisk together powdered sugar, milk, and vanilla extract until smooth, then drizzle over the cooled bars.
Step 7: Cut and Serve
- Cut into squares or rectangles and serve. Smaller pieces work great for parties!
Why This Recipe Works So Well
These bars combine a sturdy, buttery crust with a fruity filling and a crunchy topping. The balance of textures and flavors makes them irresistible, and they’re endlessly adaptable to suit your preferences.
Variations to Try
- Chocolate Lovers – Swirl Nutella into the jam layer or sprinkle chocolate chips on top.
- Tropical Twist – Use mango or pineapple jam for a unique flavor.
- Nutty Crunch – Add chopped pecans, almonds, or walnuts to the topping.
- Cheesecake Bars – Spread a thin layer of cream cheese over the crust before adding the jam.
- Mini Bars – Cut them into bite-sized pieces for easy snacking.
Tips for Success
- Double the Batch – For large gatherings, make multiple pans.
- Use Quality Jam – The better the jam, the better the flavor.
- Chill Before Cutting – Refrigerate for 30 minutes before slicing for cleaner cuts.
- Store Properly – Keep in an airtight container at room temperature for up to 3 days, or freeze for longer storage.
- Make Ahead – Assemble and freeze the unbaked bars, then bake straight from frozen, adding a few extra minutes.
Serving Suggestions
- Party Platter – Pair with cookies, brownies, and cupcakes.
- Gift Idea – Package in decorative tins for thoughtful homemade gifts.
- Brunch Favorite – Serve with quiches, muffins, and fresh fruit.
- Ice Cream Pairing – Serve warm with a scoop of vanilla ice cream.
- Holiday Treats – Decorate with festive sprinkles or colored glazes.
Final Thoughts
With their rich flavor, delightful texture, and endless customization options, these jam bars are a dessert worth making again and again. Whether you’re celebrating a special occasion or just indulging a sweet craving, this recipe is a must-try.
Have you made these bars? Share your thoughts, tips, and favorite variations in the comments below. Happy baking!