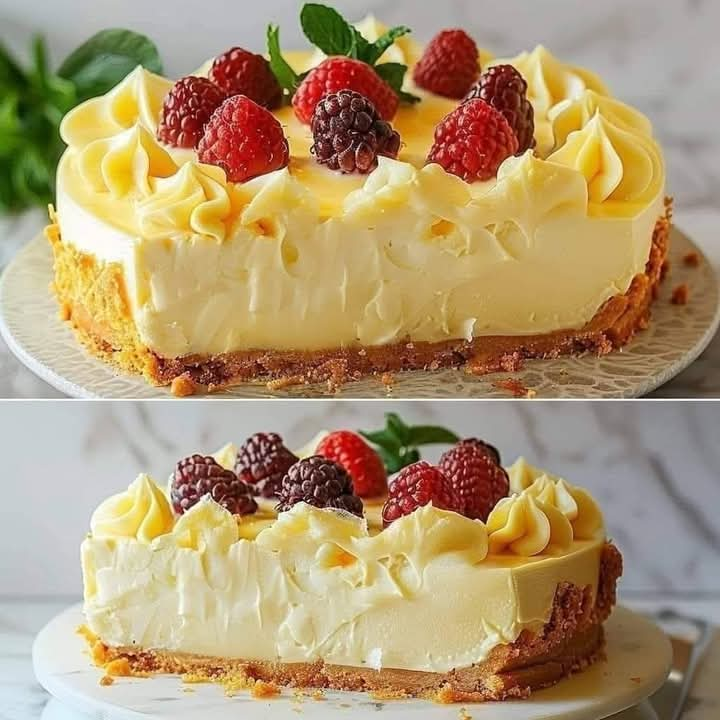
If you’re looking for a dessert that is both visually stunning and irresistibly delicious, this White Chocolate Raspberry Cheesecake is the perfect choice. With a buttery chocolate cookie crust, a velvety white chocolate cheesecake filling, and a vibrant raspberry swirl, this dessert is an elegant showstopper that’s perfect for any occasion.
The rich, creamy texture of the cheesecake beautifully complements the tart sweetness of the raspberry sauce, while the chocolate cookie crust adds a satisfying crunch. Whether you’re celebrating a special occasion or simply treating yourself, this cheesecake is guaranteed to impress.
Why You’ll Love This Cheesecake
- Rich & Creamy Texture – The combination of cream cheese and white chocolate creates a luscious, melt-in-your-mouth filling.
- Perfectly Balanced Flavors – The tart raspberry swirl cuts through the sweetness, creating the perfect harmony of flavors.
- A Stunning Presentation – The swirls of raspberry sauce make this cheesecake look as beautiful as it tastes.
- No Cracks, No Stress – Baked in a water bath, this cheesecake comes out smooth and flawless every time.
Ingredients
For the Crust:
- 1 ½ cups chocolate cookie crumbs
- ¼ cup melted butter
- 2 tablespoons granulated sugar
For the Raspberry Sauce:
- 1 cup fresh or frozen raspberries
- ¼ cup water
- 3 tablespoons granulated sugar
- 1 teaspoon cornstarch mixed with 1 tablespoon water
For the Cheesecake Filling:
- 8 ounces white chocolate chips
- ½ cup heavy cream or half-and-half
- 3 (8-ounce) packages cream cheese, softened
- ¾ cup granulated sugar
- 3 large eggs
- 1 teaspoon vanilla extract
Step-by-Step Instructions
Step 1: Prepare the Crust
- Preheat the Oven – Set your oven to 325°F (163°C).
- Mix the Ingredients – In a bowl, combine the chocolate cookie crumbs, melted butter, and sugar until the crumbs are evenly moistened.
- Press into the Pan – Firmly press the mixture into the bottom of a 9-inch springform pan, creating an even layer.
- Bake – Bake for 8-10 minutes, then remove from the oven and let it cool while preparing the filling.
Step 2: Make the Raspberry Sauce
- Cook the Raspberries – In a small saucepan, combine the raspberries, water, and sugar over medium heat, stirring occasionally. Bring the mixture to a simmer.
- Thicken the Sauce – Stir in the cornstarch mixture and continue cooking until the sauce thickens, about 2-3 minutes.
- Strain – Pour the sauce through a fine-mesh strainer to remove the raspberry seeds, leaving a smooth sauce. Set aside to cool.
Step 3: Prepare the Cheesecake Filling
- Melt the White Chocolate – In a heatproof bowl, melt the white chocolate chips with the heavy cream using a double boiler or microwave in 30-second intervals, stirring until smooth. Let it cool slightly.
- Mix the Cream Cheese & Sugar – In a large mixing bowl, beat the cream cheese and sugar together on medium speed until smooth and creamy.
- Add the Eggs & Vanilla – Beat in the eggs one at a time, mixing just until incorporated. Stir in the vanilla extract.
- Combine with White Chocolate – Slowly mix the melted white chocolate mixture into the cheesecake batter, blending until smooth.
Step 4: Assemble the Cheesecake
- Pour Half the Cheesecake Batter – Spread half of the cheesecake filling over the cooled crust.
- Add Raspberry Sauce – Spoon small dollops of raspberry sauce over the filling.
- Pour the Remaining Batter – Carefully spread the rest of the cheesecake filling over the top.
- Create the Swirl Effect – Drop additional raspberry sauce on top and use a knife or toothpick to swirl it gently through the cheesecake for a marbled effect.
Step 5: Bake the Cheesecake
- Prepare a Water Bath – Wrap the outside of the springform pan with two layers of aluminum foil to prevent leaks. Place the pan in a large roasting pan and fill it with hot water, reaching about halfway up the sides of the cheesecake pan.
- Bake – Bake at 325°F (163°C) for 55-65 minutes, or until the edges are set but the center still has a slight jiggle.
- Cool Gradually – Turn off the oven, crack the door slightly, and let the cheesecake cool inside for 1 hour. This helps prevent cracks.
- Chill – Remove from the oven, cool completely at room temperature, then refrigerate for at least 6 hours or overnight for best results.
Serving & Garnishing Ideas
- Fresh Berries – Top with fresh raspberries or mixed berries for a fresh, elegant touch.
- Whipped Cream – A dollop of whipped cream adds a light and airy contrast.
- Chocolate Shavings – Sprinkle white or dark chocolate curls over the top for an extra indulgence.
- Extra Raspberry Sauce – Drizzle additional raspberry sauce before serving for even more flavor.
Storage & Make-Ahead Tips
- Refrigeration: Store in the refrigerator for up to 5 days, covered with plastic wrap or foil.
- Freezing: This cheesecake freezes beautifully! Wrap it tightly in plastic wrap and aluminum foil, then freeze for up to 3 months. Thaw in the refrigerator overnight before serving.
Tips for the Perfect Cheesecake
- Use Room Temperature Ingredients – Softened cream cheese blends more smoothly, preventing lumps.
- Don’t Overmix – Overbeating the batter can incorporate too much air, leading to cracks.
- Water Bath is Essential – It creates a steamy environment that prevents the cheesecake from drying out.
- Cool Gradually – Sudden temperature changes can cause the cheesecake to crack. Let it cool slowly.
- Chill for Best Texture – Cheesecake tastes best when fully chilled, so let it sit in the fridge overnight.
Final Thoughts
This White Chocolate Raspberry Cheesecake is a true masterpiece, perfect for special occasions, holidays, or anytime you want to impress your guests. The creamy, rich cheesecake combined with the tart raspberry swirl and the crunchy chocolate crust creates an unforgettable dessert experience.
Whether you’re making it for a birthday, anniversary, or just a well-deserved treat, this cheesecake is sure to be a crowd-pleaser. Try this recipe today and enjoy a dessert that looks as stunning as it tastes.