Introduction
Starting with my recipe, I’m going to begin by adding half a cup of vinegar to the milk already boiling, remembering that I’ve already turned off the heat, and I’m using 3 liters of milk. Now, with a spatula, I’m going to stir until the vinegar curdles all the milk very well. Head to the comments and let us know where you’re watching from so we can send you a big shoutout in the next video.
Ingredients
To prepare this recipe, you will need the following ingredients:
– 3 liters of milk
– 1/2 cup of vinegar
– 1 tablespoon of butter
– 1/2 teaspoon of salt
Steps By Step Instructions
1. In a large pot, bring the milk to a boil.
2. Once the milk is boiling, turn off the heat.
3. Add half a cup of vinegar to the boiling milk.
4. Stir the milk and vinegar mixture with a spatula until the vinegar curdles the milk.
5. Place a strainer in a bowl and pour the curdled milk into the strainer to separate the whey from the curd.
6. Press the curd with a spatula to drain out the whey.
7. Transfer the curd to a blender.
8. Add one tablespoon of butter, half a teaspoon of salt, and a little milk to the blender.
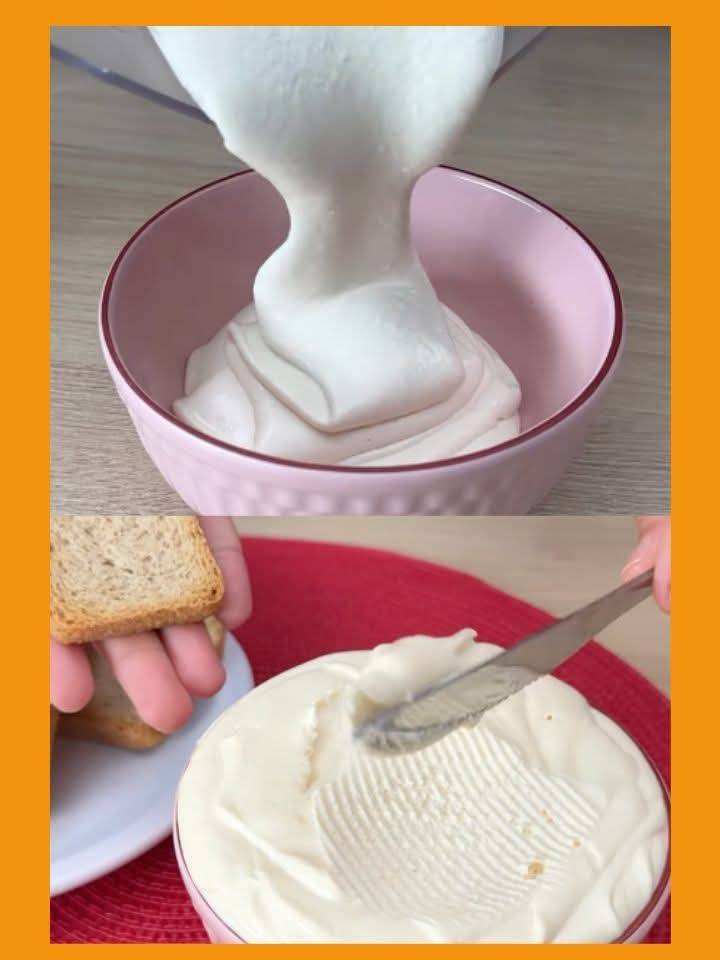
9. Cover the blender and blend everything until smooth and creamy.
10. Transfer the blended mixture to a bowl.
11. Refrigerate the cream cheese to firm it up and enhance its creamy texture.
Keto and Low Carbs Variations
If you are following a keto or low carb diet, you can make a few variations to this recipe:
– Use full-fat milk instead of regular milk.
– Substitute vinegar with lemon juice.
– Replace butter with cream cheese.
– Add herbs and spices for extra flavor.
Tips
Here are some tips to ensure the best results when making homemade cream cheese:
– Use fresh and high-quality ingredients.
– Make sure the milk is fully curdled before straining.
– Blend the mixture well to achieve a smooth and creamy texture.
– Refrigerate the cream cheese for at least a few hours to allow it to firm up.
– Experiment with different flavor variations by adding herbs, spices, or even fruits.
Conclusion
In conclusion, adding vinegar to boiled milk can result in a surprising and delicious homemade cream cheese. The process is simple and the end result is a creamy and flavorful spread that can be enjoyed in various ways. Whether you use it as a filling, spread it on toast, or incorporate it into your favorite recipes, this homemade cream cheese is sure to impress. Give it a try and enjoy the freshness and quality that comes with making it yourself.
FAQs
1. Can I use any type of vinegar?
Yes, you can use any type of vinegar, such as white vinegar or apple cider vinegar. The choice of vinegar may slightly affect the flavor of the cream cheese.
2. How long does the homemade cream cheese last?
When stored properly in an airtight container in the refrigerator, homemade cream cheese can last for up to one week.
3. Can I freeze the cream cheese?
Yes, you can freeze homemade cream cheese. However, note that the texture may slightly change after thawing. It is best to use frozen cream cheese for cooking or baking rather than for spreading.
4. Can I add flavorings to the cream cheese?
Absolutely! You can add various flavorings to customize your cream cheese, such as herbs, spices, or even fruits. Experiment with different combinations to find your favorite flavor.
5. Can I use low-fat milk instead of regular milk?
Yes, you can use low-fat milk. However, note that the texture and creaminess of the cream cheese may be slightly affected. Full-fat milk will yield the best results.
6. Is homemade cream cheese healthier than store-bought options?
Homemade cream cheese is generally considered healthier than store-bought options because it doesn’t contain any preservatives or additives. It is also a great way to control the quality of ingredients and ensure freshness.